Safety Precautions
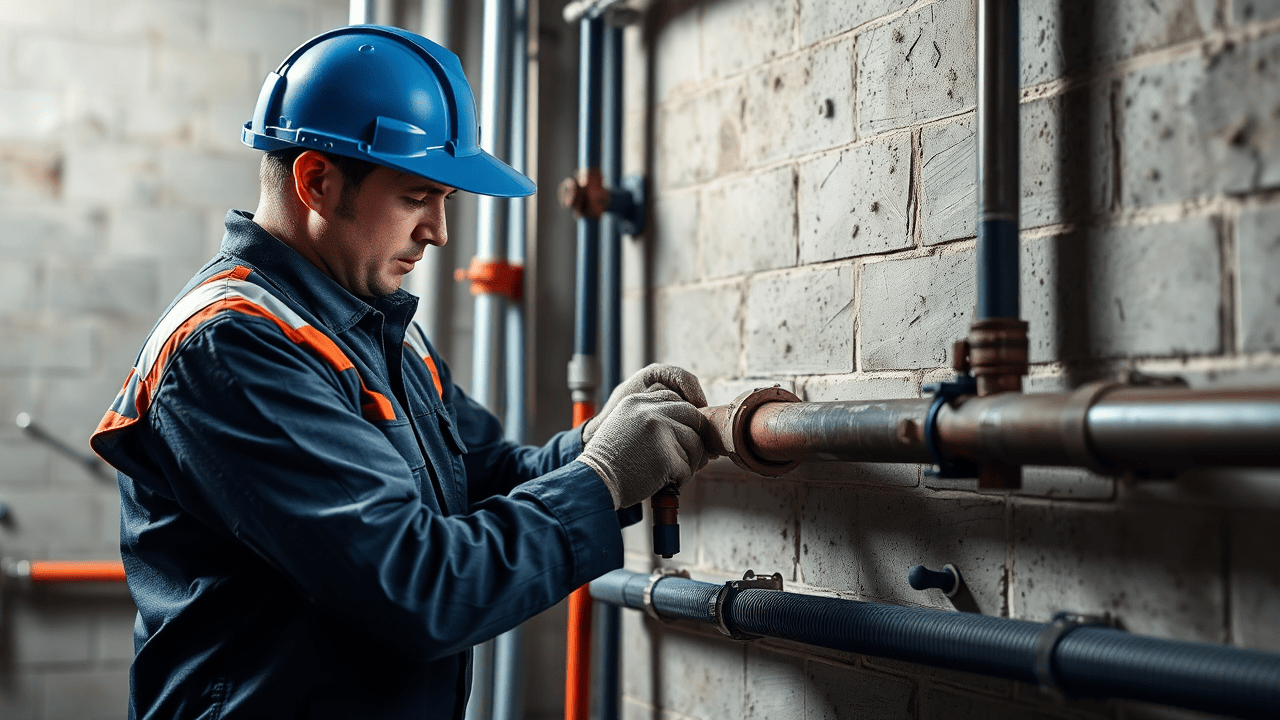
When dealing with a leaky pipe joint, safety should be a top priority. Always wear protective gloves and goggles to shield yourself from potential splashes or sharp edges. Ensure that the area is well-ventilated, especially if you are using chemical sealants that may release harmful fumes. Make sure to turn off the water supply to avoid any sudden leaks while you work. Gathering your tools and materials in advance can help keep the workspace organized and reduce the risk of accidents.
Additionally, it is wise to assess the surrounding environment for any electrical hazards before starting the repair. If the leak is near electrical outlets or appliances, consider consulting a professional for guidance. For those looking to find reliable assistance, searching for “pipe installation and repair near me” can lead you to local experts who can ensure the job is done safely and effectively. Taking these precautions will create a safer working environment and provide peace of mind as you tackle the repair.
Ensuring a Safe Working Environment
Before starting any repair work, it is crucial to ensure the workspace is safe. Clear the area of any obstructions to provide an unobstructed path for movement. Gather all necessary tools and materials within reach to minimize the time spent in potentially hazardous conditions. If you're working in a confined space, good lighting is essential to avoid accidents. Wearing appropriate personal protective equipment, like gloves and goggles, helps safeguard against any unexpected splashes or sharp edges.
Consider your surroundings when addressing a leaky pipe joint. Make sure the area is dry to reduce the risk of slips and falls. If the plumbing system includes any electrical components nearby, turn off the power supply to avoid electrocution during repairs. Consulting local services can also ensure that you get professional assistance if needed; searching for "pipe installation and repair near me" can provide quick access to experts who can help you feel more secure in your endeavors.
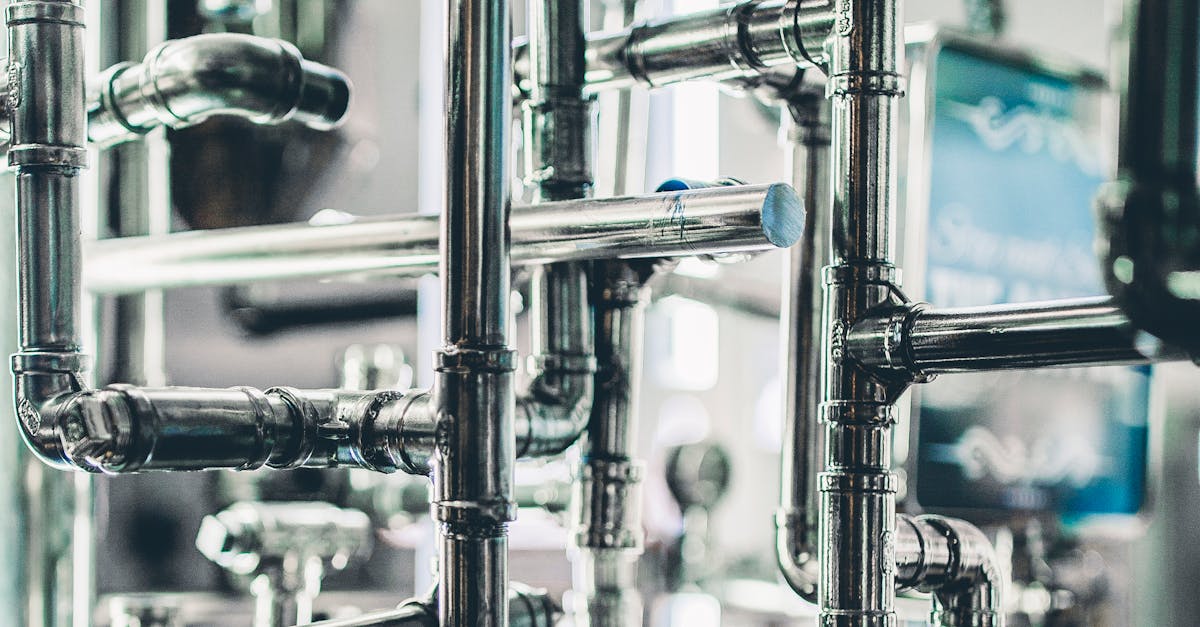
StepbyStep Repair Process
Begin by thoroughly cleaning the area around the leaky joint. Use a cloth or a sponge to eliminate dirt, grime, or old sealing material. This ensures that the surface is prepared for effective adhesion. Once the area is clean, inspect the pipe for any gaps or cracks that may be contributing to the leak. If you identify any significant damage, it may require a more robust solution involving professionals. Searching for "pipe installation and repair near me" can help you find specialists in your area.
Next, apply a suitable sealant designed for the type of pipe material you are working with. Follow the manufacturer's instructions for application to achieve the best results. Ensure that the sealant completely covers the joint, filling in any voids or cracks. Allow the sealant to cure as recommended, typically for a few hours to a day, depending on the product. After the recommended curing time, check the joint for any signs of leaks by running water through the pipe or tapping it lightly.
How to Apply Sealant Effectively
Applying sealant effectively requires preparation and attention to detail. First, ensure the joint is clean and dry. Use a cloth to wipe away any moisture or debris. A thorough cleaning will enhance the adhesion of the sealant. If necessary, sand down the area around the joint slightly to create a rough surface, which helps the sealant grip better. Once prepared, select a high-quality sealant specifically designed for plumbing applications.
When ready to apply, use a caulking gun for precise application of the sealant along the joint. Aim for a consistent bead that covers the entire area without gaps. Be careful not to over-apply, as excess sealant can create a mess and may not effectively bond. After applying, smooth the sealant with a finger or a tool to ensure good contact. Allow the sealant to cure as per the manufacturer's instructions. This process not only prevents future leaks but also saves you from needing extensive pipe installation and repair near me.
Testing the Repair
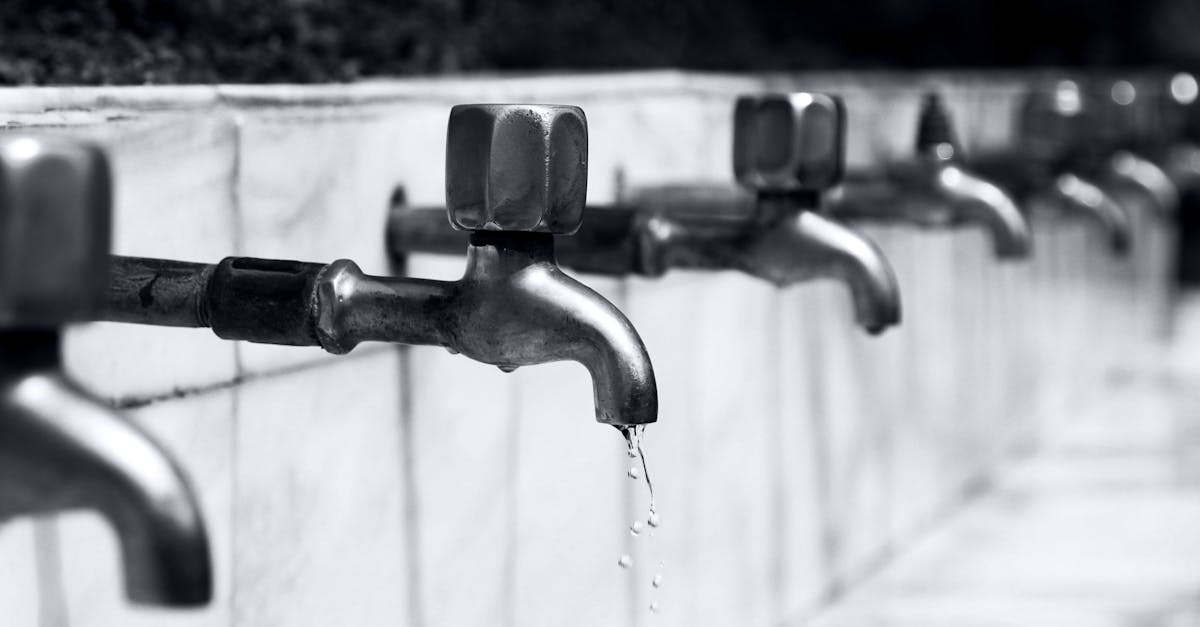
Once you have applied the sealant to the leaky pipe joint, it's essential to let it cure for the recommended time specified by the manufacturer. This waiting period allows the sealant to bond effectively with the pipe material. After the curing time has passed, turn on the water supply slowly. Begin with a low pressure to see how the joint behaves before increasing the flow.
Observing the joint closely during this process is crucial. Look for any signs of moisture or dripping around the repaired area. If you notice any leaks, you may need to reapply the sealant or explore other repair options. If the repair remains intact, you can proceed with regular use of the plumbing system. For those unsure about their repairs, searching for "Pipe installation and repair near me" can connect you with professionals who can assist further.
Checking for Remaining Leaks
Once the sealant has been applied and has had sufficient time to cure, the next step is to test the pipe joint for any remaining leaks. Begin by turning the water supply back on slowly, allowing the pressure to gradually build in the system. Observe the area around the repaired joint for any signs of moisture or dripping water. This initial inspection can help determine if the repair has been successful or if further action is necessary.
If no leaks are visible immediately, it is essential to continue monitoring the area over the next few hours or days. In some cases, leaks may not become apparent until pressure stabilizes. If any moisture develops, it may be worth seeking professional assistance. Searching online for "pipe installation and repair near me" can yield results for local experts who can assess the situation and provide additional repairs if needed.
FAQS
Can I fix a leaky pipe joint without turning off the water supply?
It is highly recommended to turn off the water supply before attempting any repairs to avoid further water damage and ensure a safer working environment.
What types of sealants can I use for a leaky pipe joint?
Common sealants include plumber's tape, epoxy putty, and specific pipe joint sealants. Make sure to choose a product that is compatible with the type of pipes you are repairing.
How long does it take for sealant to cure before I can test the repair?
Curing times can vary by product, but generally, it can take anywhere from a few minutes to 24 hours. Always refer to the manufacturer’s instructions for the specific sealant you are using.
What should I do if the leak persists after applying sealant?
If the leak continues, it may indicate a more serious issue. You may need to consider a more permanent solution, which could involve replacing the joint or consulting a professional plumber.
Are there any safety precautions I should take while fixing a leaky pipe joint?
Yes, ensure you wear protective gloves and eye protection, work in a well-ventilated area, and make sure the surrounding area is dry to prevent slips and injuries.